 |  |
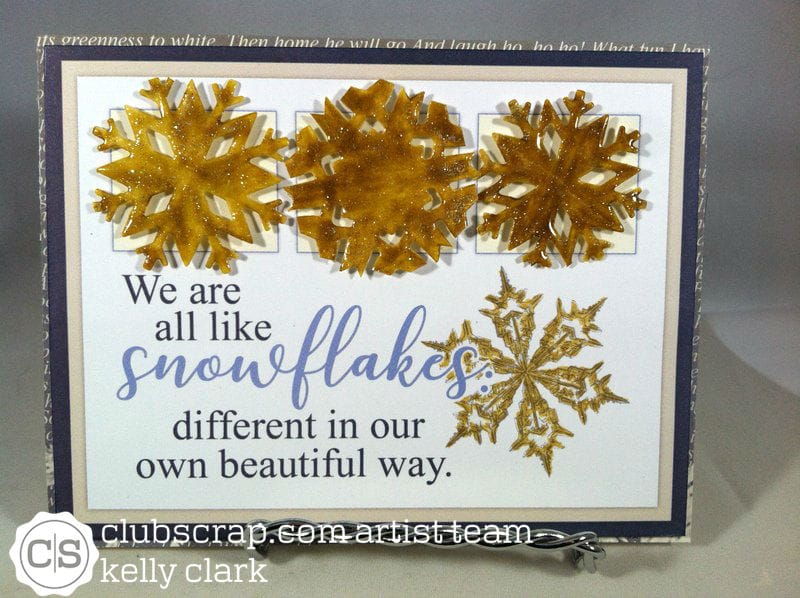
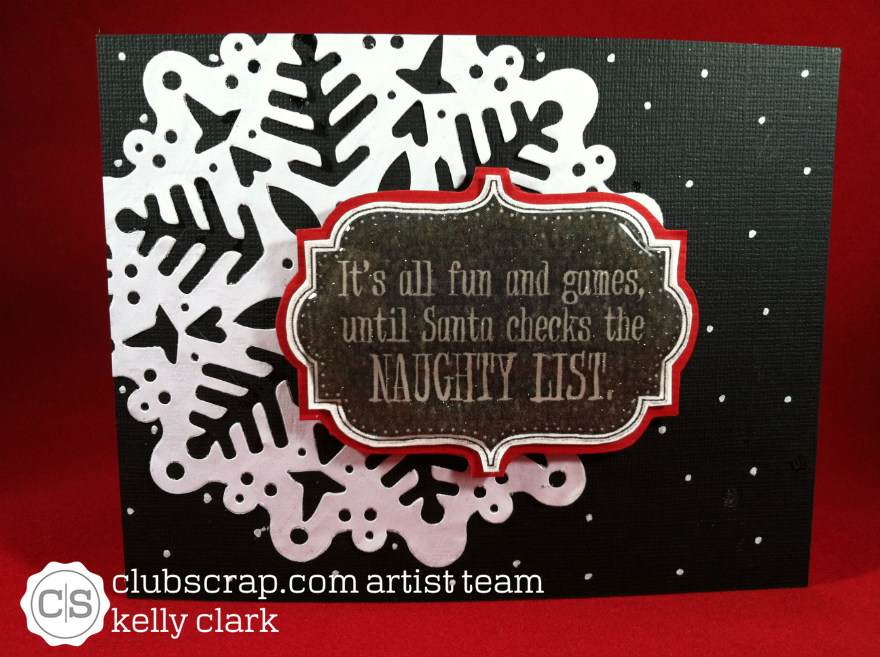
I l.o.v.e. this Club Scrap "Shades of Winter" kit so much! This card features snowflakes I cut from a die, pressed onto my gold ink pad, and embossed with glitter three times. Whaaaa! If only you could see the sparkle. I used a gold gel pen to outline the snowflake on the premade panel and added Wink of Stella on top of it. 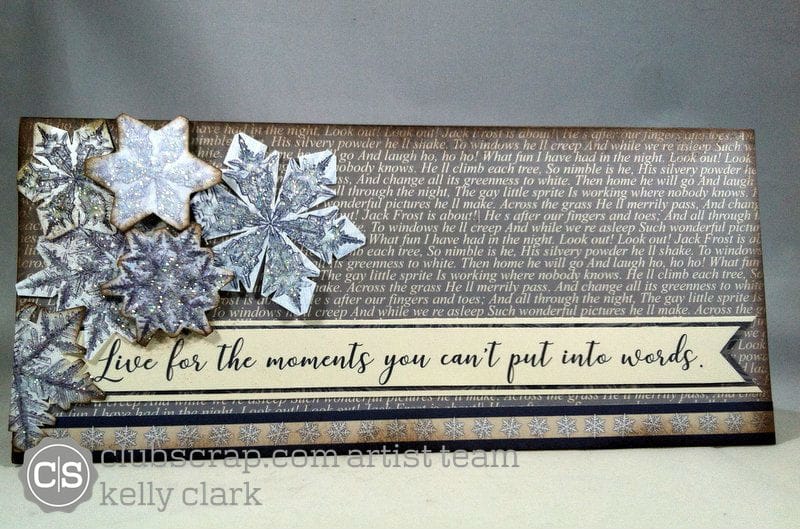 Each and every one of those skillfully fussy cut snowflakes has stickles, glitter, and/or Stickles on them. I cut them from one of the beautiful sheets of cardstock that came in the kit. Did I mention that they were all skillfully fussy cut? I guess snowflakes are a little like those Lays' potato chips, but in this case, it's you can't cut out just one.
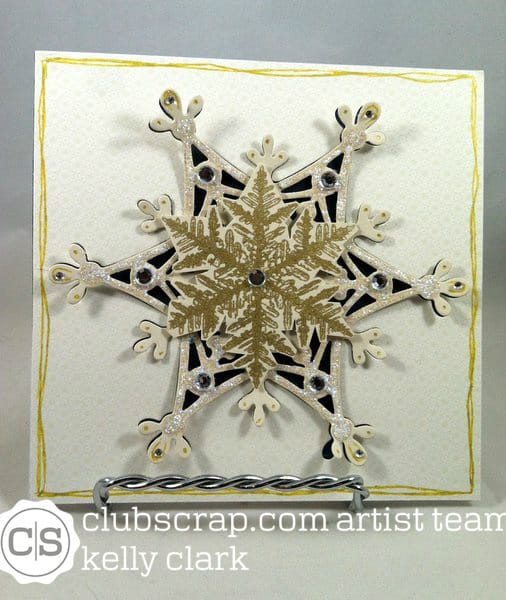
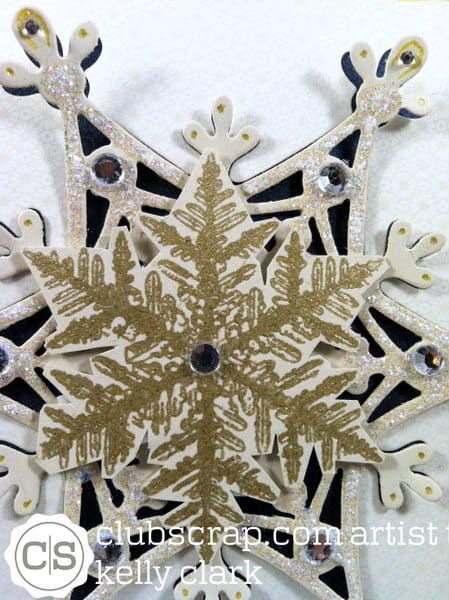
I used a die from my stash to make the card above. After cutting out the snowflake, I backed the opening in the cardstock with some of the delicious blue metallic paper that came in the kit. Then, I attached the snowflake back into the opening, added Stickles, gel pen dots, and clear gems onto it, and used foam tape at specific locations to pop the end of the snowflake up away from the paper so more of the blue underneath can be seen. Finally, I added a gold pen border around the outside edge to complete it!
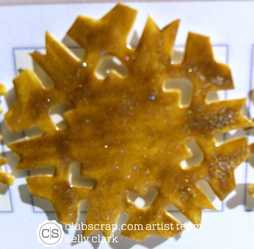
These cards are part of Club Scrap's December Artist Team challenge in the Club Scrap forum. Check out all the other great submissions here! 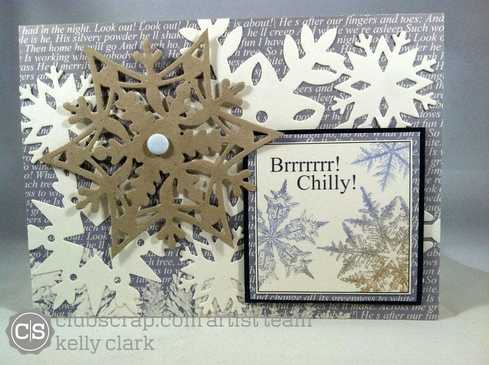 What is it with my fancy iPhone's inability to capture shimmer on my cards. It is very disappointing given my Wink of Stella obsession. See that brown-looking snowflake there? It's actually beautiful, shimmery beige paper from Club Scrap's latest release, "Shades of Winter."
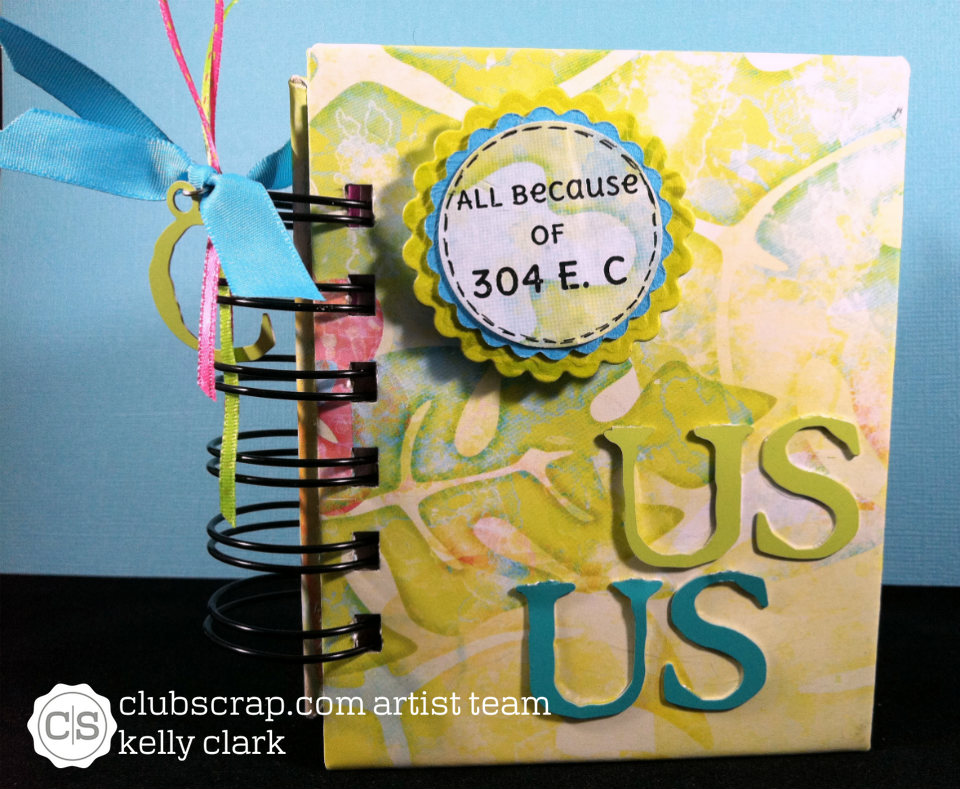
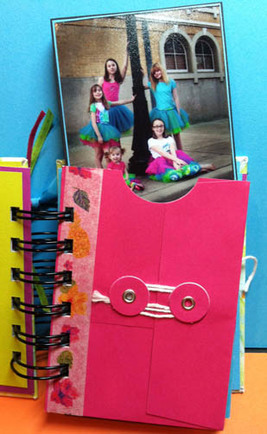
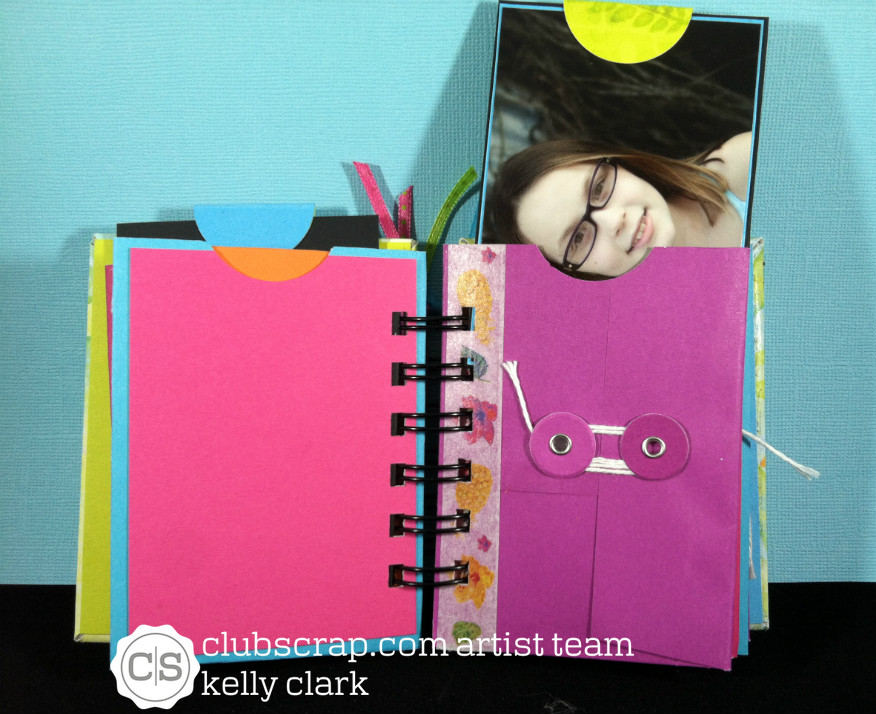
All the papers here are from the "Shades of Winter" kit, as is the light blue brad and sentiment. I did dig an awesome die out of my stash, though, to make the fancy snowflake collage in the background. But the lack of shine and sparkle is disappointing. Hmm, I bet there's an app for that! (Oh, and I'm playing along at Dragonfly Journeys.) It's blog hop time! You probably landed here from Donna's blog. If you're turned around or just ready to start the hop again, click here to get back to Karen's blog. If you're ready to SHOP, though, click HERE! I'm one of those "best of intentions" scrapbookers.. I get the pictures done and then don't do anything with them because I'm waiting for just the right "this" or just the right "that." These beauties have been waiting since 2012 to be scrapped. And finally the right "this" and the right "that" made their appearance - the "Paradise" kit from Club Scrap! (With a little help from some marked-down envelopes from a clearance table at one of my regular haunts!) Grab yourself a cuppa whatever suits ya, 'cause I've got a little story to tell. In 2011, I lost my Grandma Schrader. As you might have read in other blog posts here, she was the best person I have ever known. My brother and sister and I had a sit-down after the funeral, and at my urging, agreed we needed to do better as a family. We're spread out all across the country, and it seemed like the only time we got together anymore was for a funeral or other main event. We needed to be more proactive. The following year we met in Florida for the first of our yearly gatherings. The photos used in this album were taken there.
Head back to Karen's blog to start the hop over again, or swing by the store to pick up some of the beautiful elements that are part of this kit!
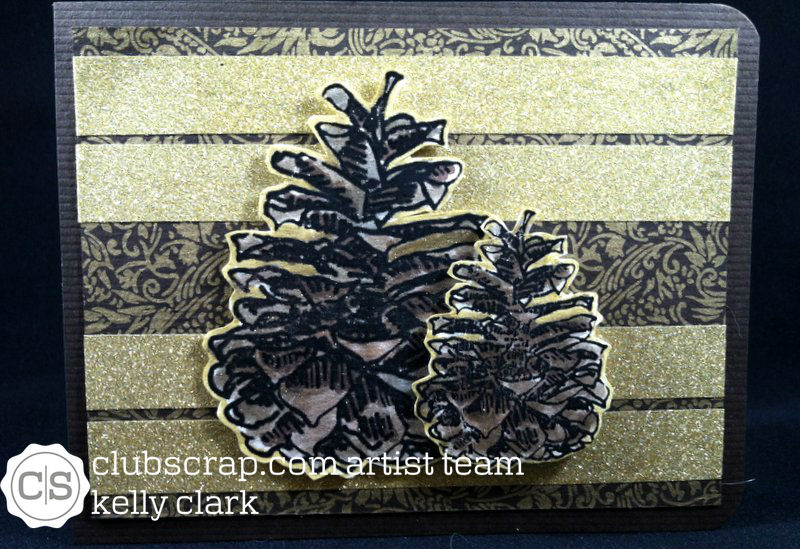
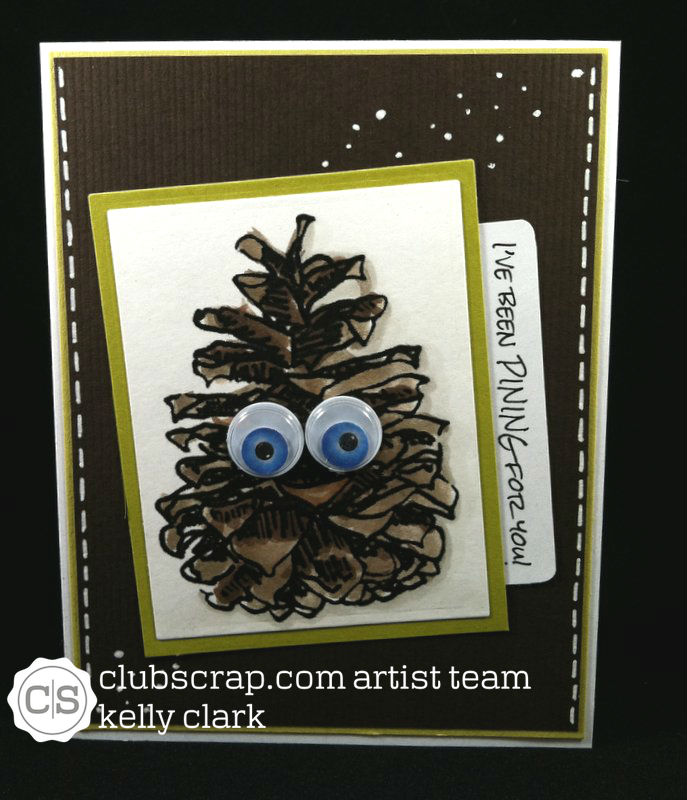 This pinecone is from Club Scrap's "Christmas Thyme" digital kit. I enlarged it, colored it with Copic markers, added two Dollar Tree googly eyes, random dots and faux stitching on the sides for a super easy not-Christmas card!
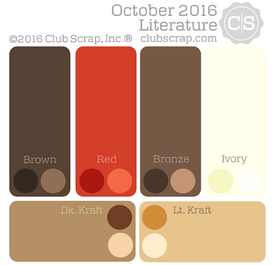
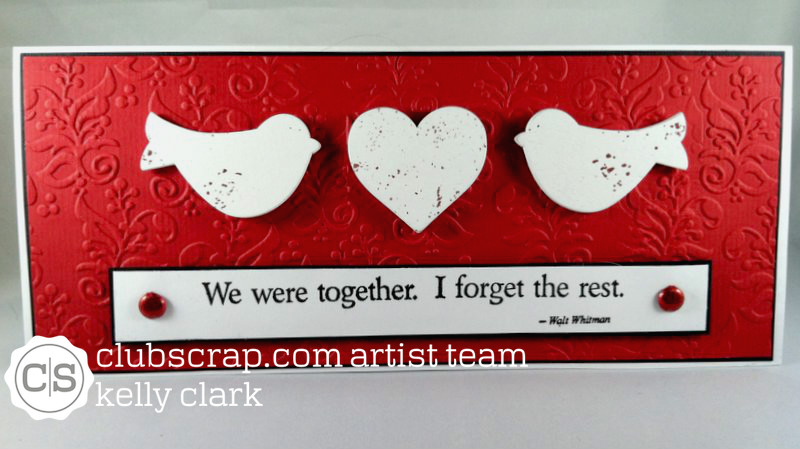
This would be a great card for kids to make for Valentine's day with red paper replacing the brown Thanks for taking time out of your holiday preparations to drop by! You've landed here from Kay's blog and when you're finished here, you'll be headed on to Hetty's blog, If you want to start fresh, here's your way back to the beginning! All of my cards today were made from the "Christmas Thyme" digital files. I printed out the images in the sizes I wanted and then constructed the cards you see below. I love digital files because their size can be adapted so easily. And it's nice to not have to store the rubber in an already-out-of-control craft space! Also, I used cardstock leftover from the "Literature" kit for the cards. Ya gotta love all the incredible stuff that comes in those boxes!
Now, head on over to Hetty's blog!
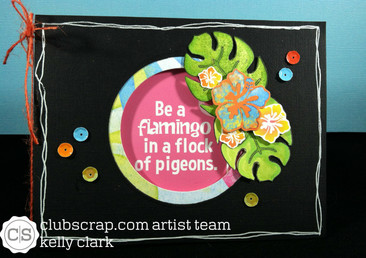
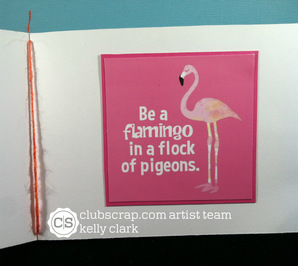
O. M. G.! This card rocks! It was so fun to make and I love the colors and the surprise inside the card! First I cut a 4 1/4" x 5 1/5" cardbase, a 4" x 5 1/4" black panel and a panel from the patterned paper. Next, I got out two circle die cuts, one about 1/4" smaller than the other. I adhered the black panel to the front of the card and used some worn washi tape to hold the larger of the two circles in the center of the card so I could die cut the first hole. To finish the peek-a-boo opening, I cut a hole in the center of the patterned paper. Then I adhered that panel on the back of the card front. It was trial and error to get the flamingo block centered in the opening AND straight on the inside of the card. I secured it in place with adhesive once I got it in the right place. I stamped, colored, and fussy cut two of the palm fronds to hide most of the flamingo on the sentiment. I embellished the fronds with some of the flowers from other kit components. Finally, I added some twine and sequins from my stash and used a white gel pen to add a border to finish it off. I LOVE IT! This single gal is still lookin' for a New Years date. Guess it's time to flamingle a bit to find one! 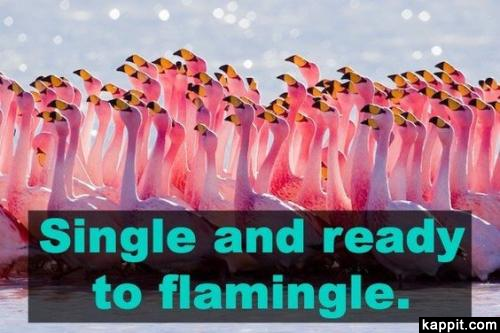 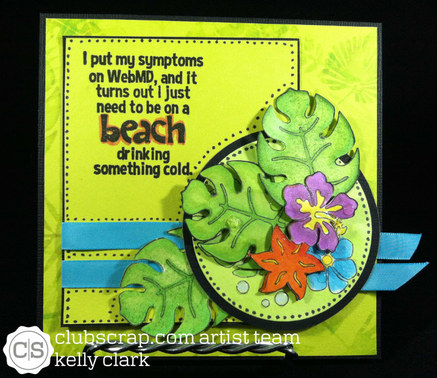 ...c'mon, you know the rest of the song!
This is such a cheery little (4" x 4") card! I stamped several of the palm leaves and colored them using Copic markers. On several of the leaves, I then pressed a sponge loaded with a darker green on it to add some interest. I stamped a base of the main image, cut it with my die cut machine, then colored another version of the main image and cut out most of the individual pieces. I assembled it using mounting tape to add dimension. I also used some Glossy Accents on the droplets and added, you guessed it, Wink of Stella, on the flowers and the word "beach." Finally, I added dots around the sections for interest! Might be time for a foo-foo drink for this girl. I'll be the one wearing the lampshade! 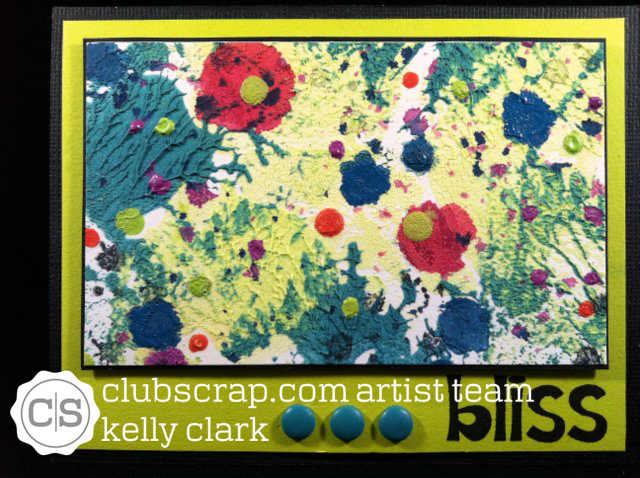 I know, it looks exactly like a Jackson Pollock, right? Yes, I am that good! (Hey, grandma's not here to tell me how beautiful it is, I have to cheer myself on these days!)
This little card is the result of this month's technique challenge - use your blocks to make a background. I mixed a little hybrid ink into some embossing paste while on a clear block and then applied the paste to the cardstock. When I pulled the block up, it left what this former social studies teacher likes to call tributaries in the paste. I then added some drops of the hybrid ink straight onto the card and waited a week for it all to dry! After the long drying process (and I even used my heat tool on it three times over different days), I stamped the word "bliss" from the "Paradise" kit on the bottom of the card because it can be blissful coloring outside the lines, just letting your creativity take over, The last paragraph of "Literature" has been written. What I mean is, I've got enough paper left to make some "sentences," but not enough for a poem, let alone a tome! It's "Literature" blog hop time! You've most likely arrived here from Donna's blog, and since I'm the tail end of the hop, here's how you can start back at the beginning! I will miss this red paper. If you look back through the last few posts, you can see that it, and the yummy chocolate brown, were really the bases for most of my cards.
Thanks for dropping by! I'm looking forward to your next visit!
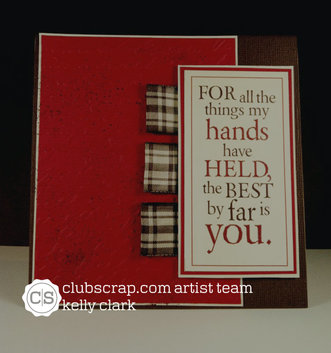
Really, this card just made itself. All I had to do was stand by with the adhesive. That's the kind of cardmaking a working girl needs.
And by "working girl," I mean school librarian, ya big comedienne!
I also used one of the sentiments that came with the kit, as well as the yummy ribbon (which I promptly crumpled into a wad and stuffed into my pocket. Hey, that’s one way to get crinkly seam binding!)
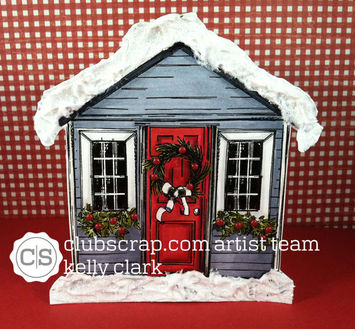
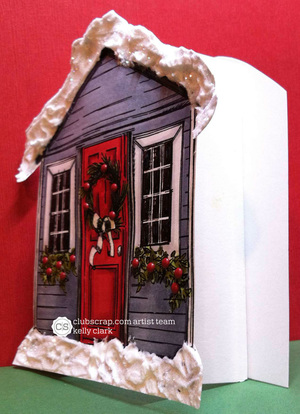
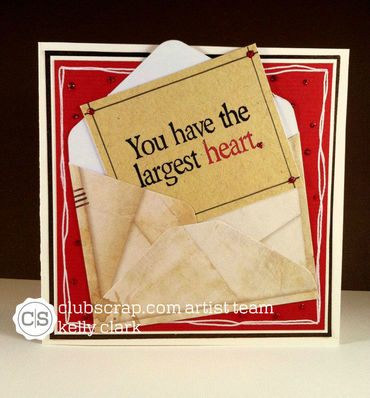
After assembling the base layers, I added a stitched white line with my gel pen and used an art air tool to spritz a sandy color onto the paper. I added the ribbon on created a bow, then slipped in a wooden flower element from my stash that I’d picked up from an after-season markdown table. I used the white gel pen to outline the lighter section of the flowers to make them stand out more. Finally, I embossed the sentiment and slipped it in behind the wooden flowers. This is so gorgeous, I’m going to hang on to it until I find just the right person to give it to. In the meanwhile, I can look at it in my craft room and feel even more happy. Just me tootin' my own horn! I was just named to the Club Scrap Artist team and couldn't be more excited. I was asked to create items from a kit they sent; I can't say enough good stuff about the quality of the kits, especially the papers. I received metal charms and other embellishments, fibers, a printed cardstock (some of which had been heat embossed), and plain cardstock. I ws so excited, I submitted a total of ten cards, and I'll be dishing them out here one at a time. And, of course, I'll be force feeding cards to everyone on a regular basis via Instagram, Facebook, and this here little blog! 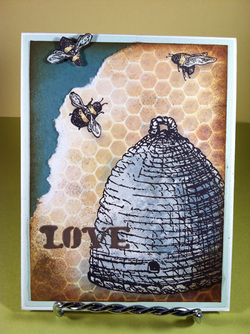 So, I watched a television show that showed a hive of African killer bees, and then this card happened.
I used the incredible print cardstock that came with Club Scrap’s “Garden Shed” kit for the main image on this card. I liberally inked the edges, mounted the layers, then used the stencil that came with the kit to emboss paste the word “LOVE” at the bottom. (I mixed a drop of refill ink into the embossing paste to get the color.) I added a fussy cut bee and mounted to the card using foam tape. All the bees were made much more attractive with the addition of Wink of Stella on their wings! No one was killed or even stung in the making of this card. Bzzzz!. |
It's Just Me!
Librarian, crafter, pet mom, and thrift store shopper who can fritter a day away like nobody else. Well, except for you maybe. Let's be friends!
SCRAPLIFTING & CARDJACKINGAll content included on Serendipity & Whimsy is COPYRIGHT ©Kelly A. Clark.This artwork is shared for your personal inspiration and enjoyment only and may not be used for publication, submissions, or design contests.
Design Team Experience

Archives
July 2020
Categories
All
|

 RSS Feed
