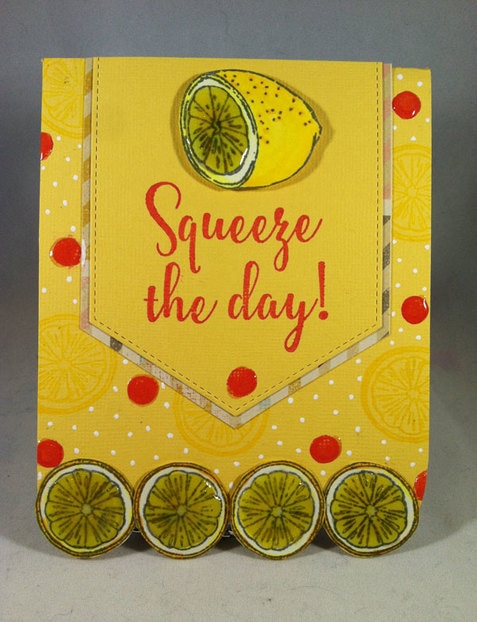
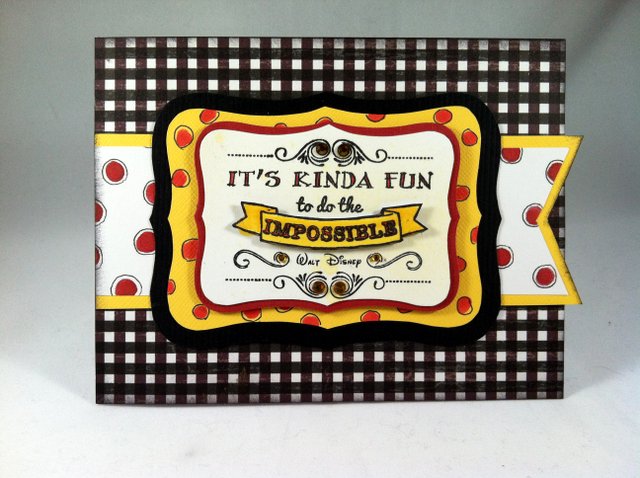
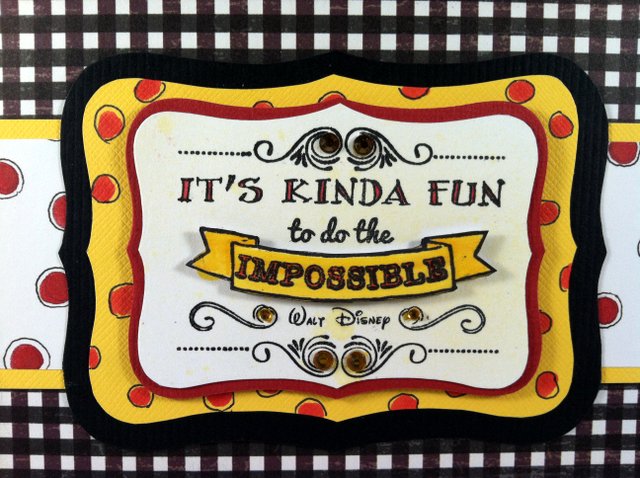
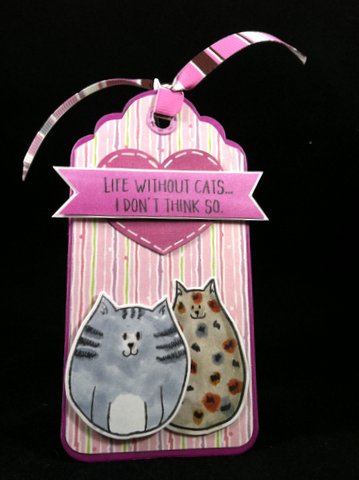
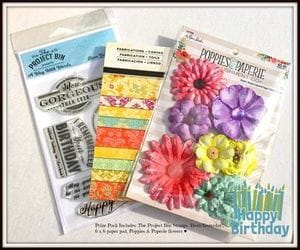
The Project Bin is out with a fabulous new set called "Yello!" and it is just perfect for summer card making! The set has several sentiments in it, one of which also has a die. I did not use that sentiment in this card, but you can expect it to show up soon!
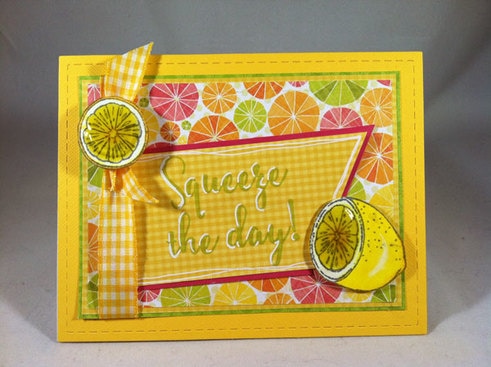
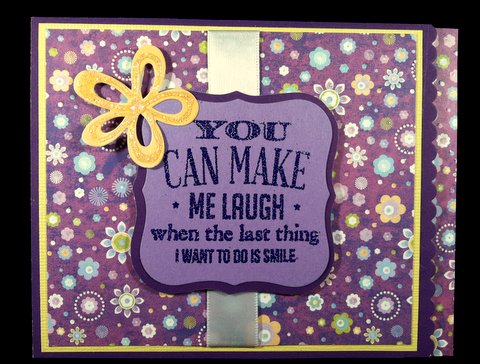
I found this fun designer paper in my scrap bin, and it TOTALLY works with the lemon sections! I used several layers for the card and sentiment and added Wink of Stella to the lemons before I added Glossy Accents to them. I ended up doing a little white outlining on the sentiment; if I had it to do over again, I'd leave that out. (Oh, wait a minute: I have a clear stamp - I CAN do it over again!)
I found this fun designer paper in my scrap bin, and it TOTALLY works with the lemon sections! I used several layers for the card and sentiment and added Wink of Stella to the lemons before I added Glossy Accents to them. I ended up doing a little white outlining on the sentiment; if I had it to do over again, I'd leave that out. (Oh, wait a minute: I have a clear stamp - I CAN do it over again!)


 RSS Feed
