How exciting to see you! You probably arrived here from Karen at Club Scrap, but if you didn't and want to start at the beginning of the hop, click here. When you finish here, you'll go to Donna's blog.
A little background on my project is in order before we launch into the photos and text. There is the chance that I've mentioned my "disability" here before. It's a spatial relations impairment. In other words, what normal people can manipulate and "see" with their mind's eye, I cannot.
I've known about this impairment since I took that aptitude test in 8th grade that was supposed to direct you toward a career you have an knackfor. Remember that section of the test where there were wheels and pulleys with arrows and you were supposed to suss out the direction one of the wheels if the set-up was working correctly? No? How about the weird origami-type two dimensional shapes you were supposed to determine what shape would be made if it were folded up?
I bombed the spatial relations part of the test. . . even worse than the math section, which is saying a lot!
This brings me to the project I made. It's based on a tutorial from Splitcoast Stampers. There are both a set of written instructions and a video. You'd think I'd be able to understand ONE of the two, right? No.
I killed a WHOLE BUNCH of cardstock before getting close to the actual product. I will add helpful details I needed but didn't get in the instructions in case you, like me, are spatially impaired.!
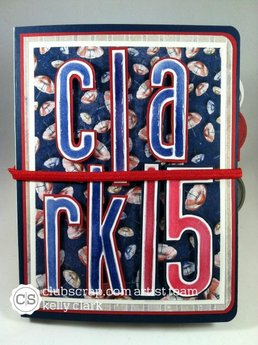 |  |
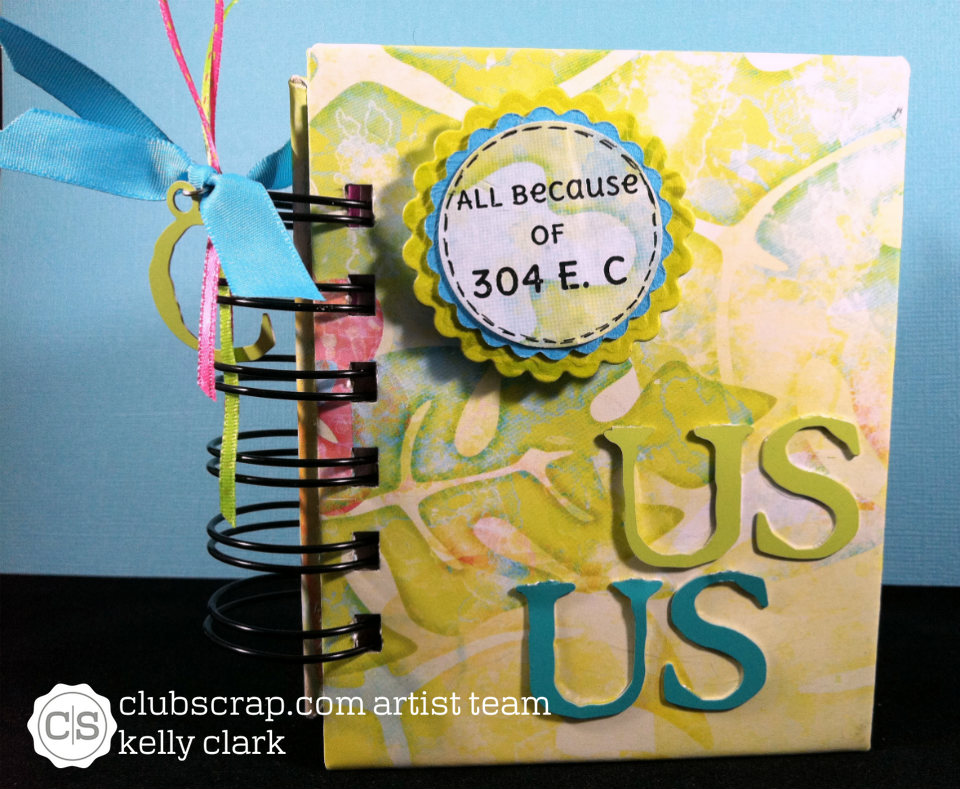
This project can be whatever you want it to be. I made mine into a mini album for my last family gathering which was in Seattle. I made the project using papers and cut-aparts from Club Scrap's "Boardwalk" kit. I also used stencils from Club Scrap. I inked up the letters for the cover, cut then out and mounted them onto cardstock from the kit. Next, I placed them on the patterned paper using mounting tape and added Glossy Accents to them to aid in durability.
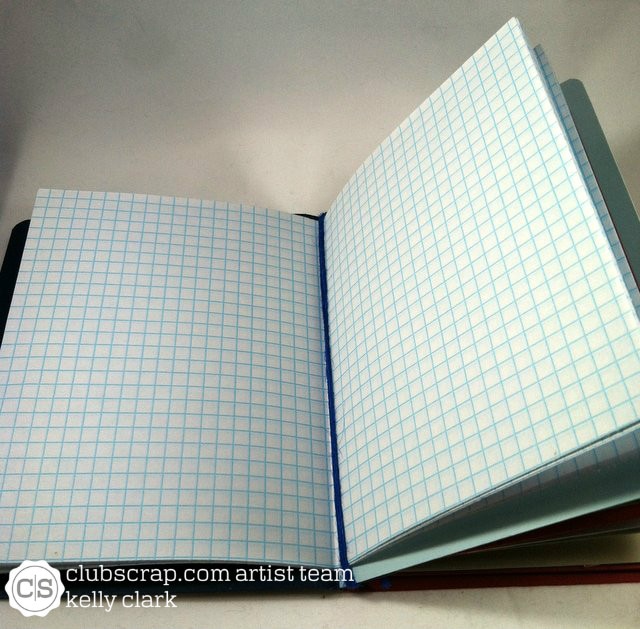
Once I figured the instructions for the "bones" of the album, I inserted graph paper for establishing timelines and storytelling. You could add any additional papers to the front at this point.
Once I figured the instructions for the "bones" of the album, I inserted graph paper for establishing timelines and storytelling. You could add any additional papers to the front at this point.
 | 
|
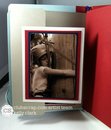
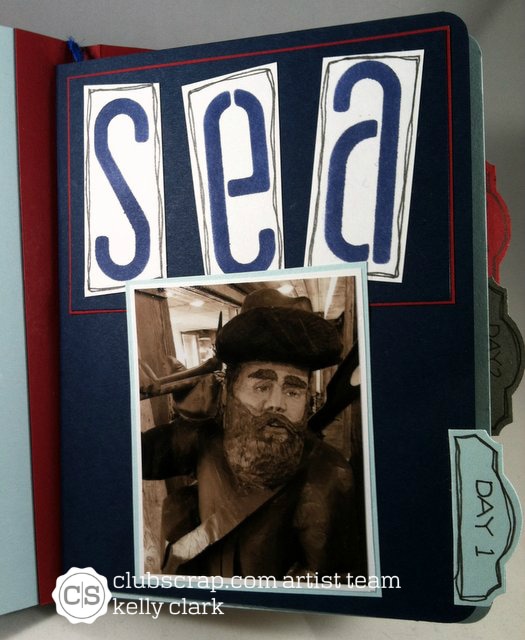
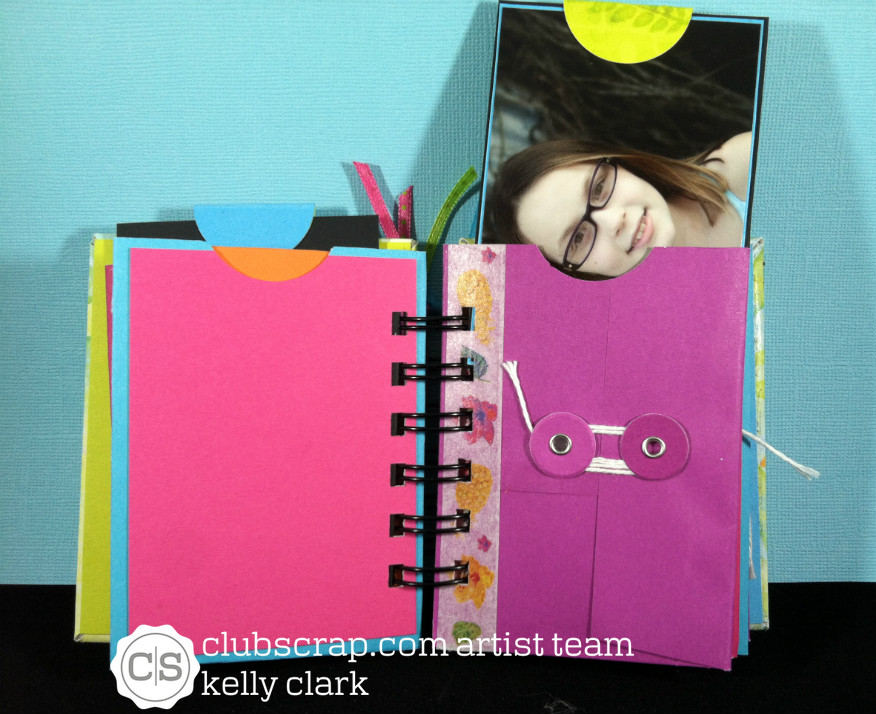
Past the center piece of cardstock are the album pages. (You're absolutely right in noting that the pages are kind of bare. I picked up my photos after work and didn't notice half of them were missing until I sat down to work. More photos and actual journaling to come!)
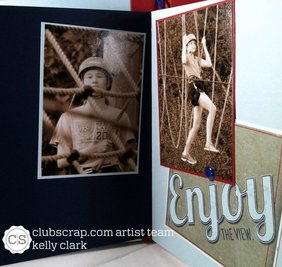
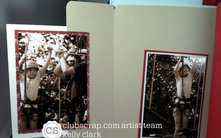
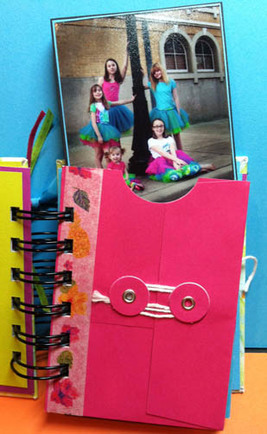
On the album section cover, I used the stencil again to show the airport code for Seattle and added an iconic photo. I turned the page and started adding photos for Day 1, which covers several pages and includes a bump-out page.
On the album section cover, I used the stencil again to show the airport code for Seattle and added an iconic photo. I turned the page and started adding photos for Day 1, which covers several pages and includes a bump-out page.
| Things for future editions of this project I'll do differently include adjusting the size of the journal/album to two photos per page, using elastic cording to keep the pages where they should be instead of sliding around, and adding charms or other embellishments to the elastic holding the album closed. (I did not make a scrunchie to keep the album closed as suggested in the video. I went to the dollar store and purchased headbands 8/$1.00 and resized one. It felt like there was already a lot going on with the cover, so I went more simple.) | 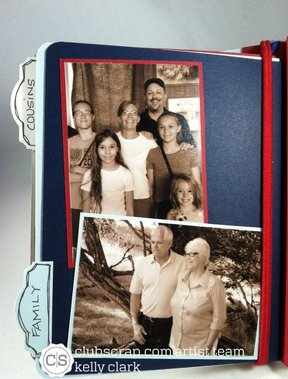 |
Next on the hop is Donna at her Hawthorne Hill blog, but if you'd like to start at the beginning, here's your link back to Club Scrap!
Thanks for stopping by . . . I hope to see you again soon!
Thanks for stopping by . . . I hope to see you again soon!


 RSS Feed
