
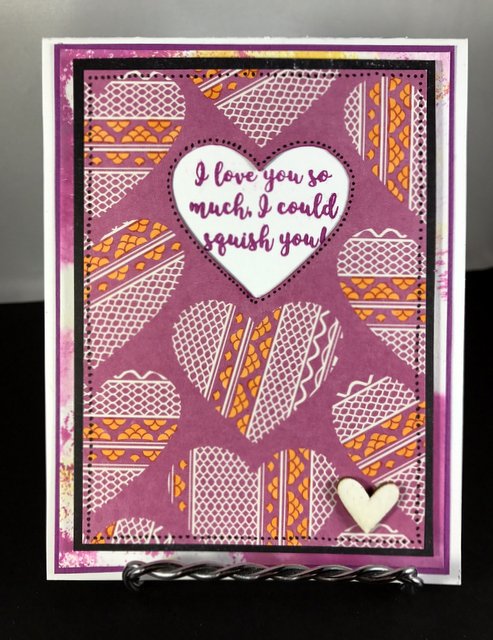
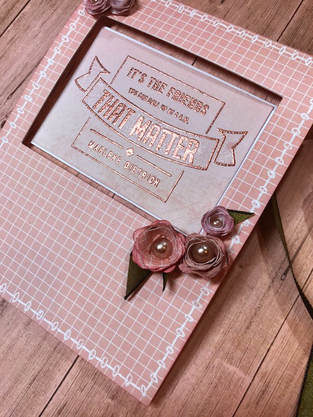
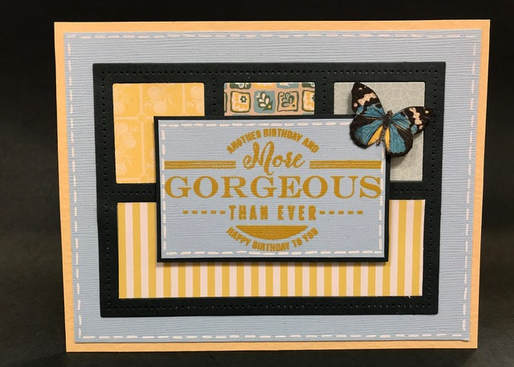
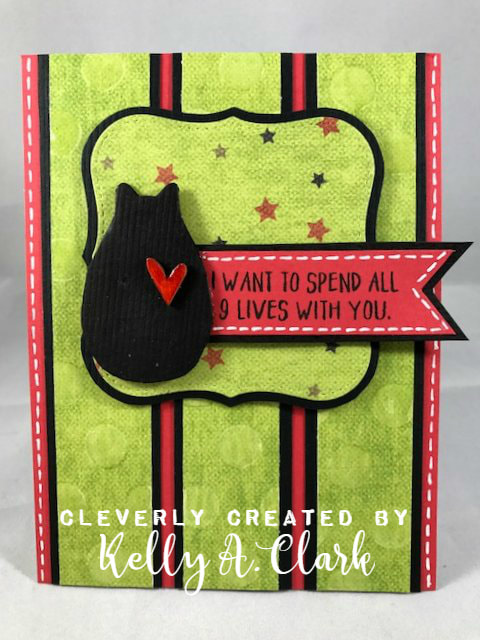
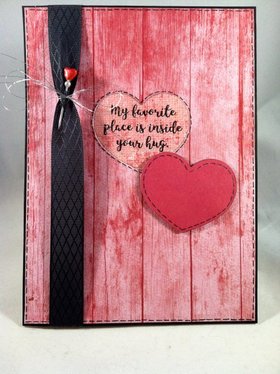
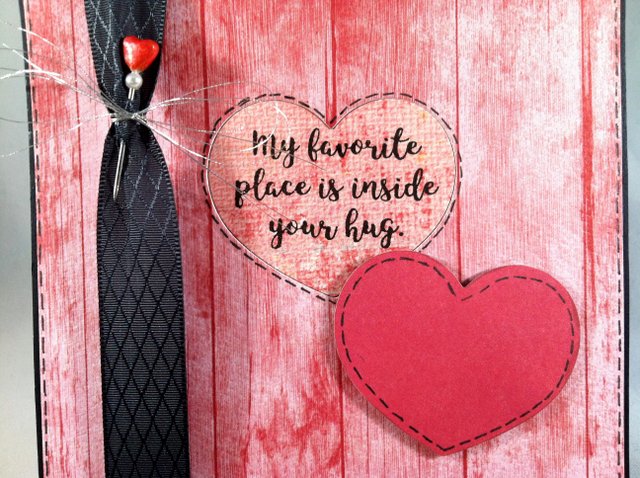
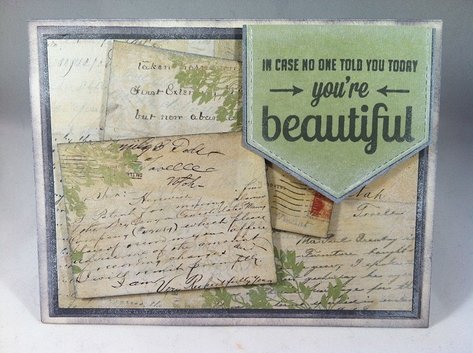
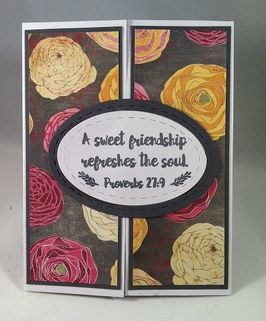
I used one of the sentiments from The Project Bin's "In My Heart" set for this card. I used a panel of Distress Ink'd cardstock and layered up to the top panel where I added more of the yellow-orange color to so it would help pull some of the Distress color up.
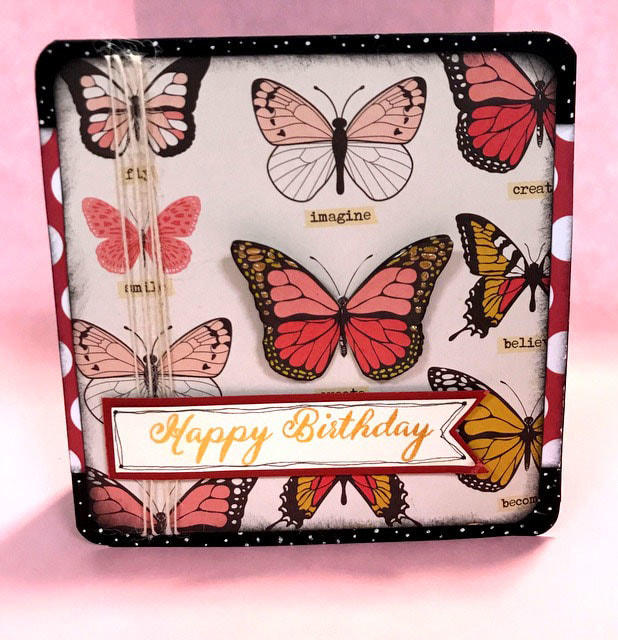
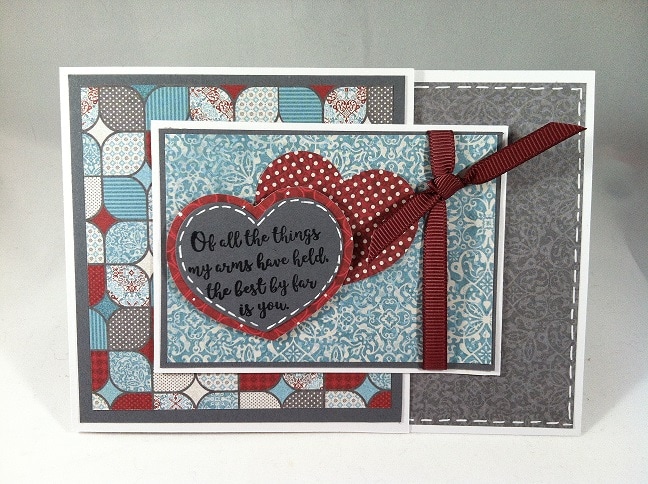
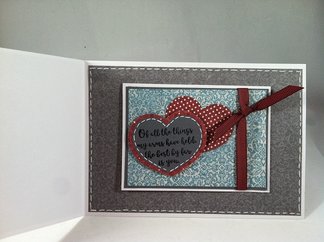
A cute and simple card appropriate for Valentine's Day or any other day you just want to let someone know they're special!
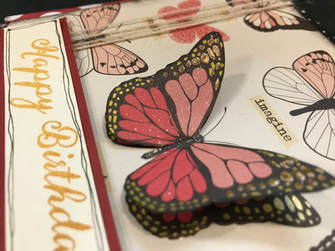
A cute and simple card appropriate for Valentine's Day or any other day you just want to let someone know they're special!


 RSS Feed
